
A more complete way to use flame tests
- Brennan Koch
- Oct 17, 2025
- 4 min read
Yesterday, I used flame tests along with a two brief lessons in an effective block period. I have always felt that flame tests can get lost in the “oooooo, cool colors” caliber of chemistry. And then they don’t mean anything intellectually to the kids. This year I combined two short lessons and sandwiched the flame tests in between. I completed it all in one 90-minute block. It made a more powerful lesson. Here is how I did it.
Plus, download the free lab write-up here!
Bohr model and stability
The lesson started with a discussion of the Bohr model and stability. We reviewed the idea that in order to leave ground state, electrons must absorb minimum quantities of energy. Then, when they are in the excited state, the atom becomes less stable.
Pro Tip: Beat into your students’ heads that essentially everything in chemistry happens to become more stable. It can answer almost every “why” question.
The electrons will move back down to a lower energy level to become more stable. But since energy is neither created or destroyed, there has to be energy equal to that change ejected from the atom. Those are photons.
I drew a generic atom with energy levels (drawn in an approximate logarithmic scale) and diagrammed some electron movements. I had the students (who know E=hν and c=λν) to identify which change would most likely produce an infrared photon, a red photon, and a violet photon. Once the students started connecting the size of the energy changes between energy levels, it was time to move on to the flame test lab.
Complete the flame tests
I used dissolved solutions of LiCl, NaCl, KCl, MnCl2, CaCl2, CuCl2 and SrCl2. The students use an inoculating loop and place it in the flame of a Bunsen burner. I do this lab with the lights off and the shades pulled to help the students clearly see the colors. The students choose one representative wavelength to identify the color in the flame. (Yes, I know there are multiple wavelengths of photon in each flame test, but this exercise makes it accessible to them.) Then they convert the wavelength from nanometers to meters. I added this step in order to reinforce that all calculations must be done in meters.
The students then answer 5 questions about the lab. What was the highest energy photon? What was the lowest energy photon? They calculate the energy of each of those photons based on their estimated wavelength. Which photon represents the largest change in energy level? These are simple questions and not very many which allows us to see the big idea and then move on to unknown mixtures.

Demo three unknown solutions
After all the groups have completed their seven flame tests, I have them gather around one burner and I do three demos where they try to identify what mixtures I made. I will combine two different solutions from their lab. They look at the colors and discuss what they believe is in the solution. This guides them toward the idea that flame tests (and ultimately emission spectra) are unique to the atom and can be used for identification purposes.
I do two different unknown mixtures for them to figure out. The third unknown is my face! I take the inoculating loop and rub it on my sweaty nose. Then I flame test it. My sweat will show the typical color of sodium. It takes a second, but then the kids connect the idea that our bodies utilize a lot of salt from our diet, and that we sweat out those electrolytes (thanks, Gatorade for solidifying that idea through incessant advertising.)
Teach about emission spectra
After the short lab, I bring the kids back for one more mini lesson on emission spectra. Now that we have seen some colors coming from metal ions and have connected that idea to a change of energy level within the atom, I connect it to the fingerprint-like emission (or discontinuous) spectra. It is a pretty easy jump as they realize that the colors are definitive and therefore the changes in the electrons must be the same. Each atom has a unique arrangement of electrons and a unique nucleus, so each atom must have a unique emission spectrum.
This lesson fits in one 90-minute block period. It brings them from a basic understanding of equations and energy levels and allows them to understand the connections between them all. It is a much better way to use flame tests than my old way, which was essentially, “Look, pretty colors.” Give it a shot and see how the student comprehension improves.
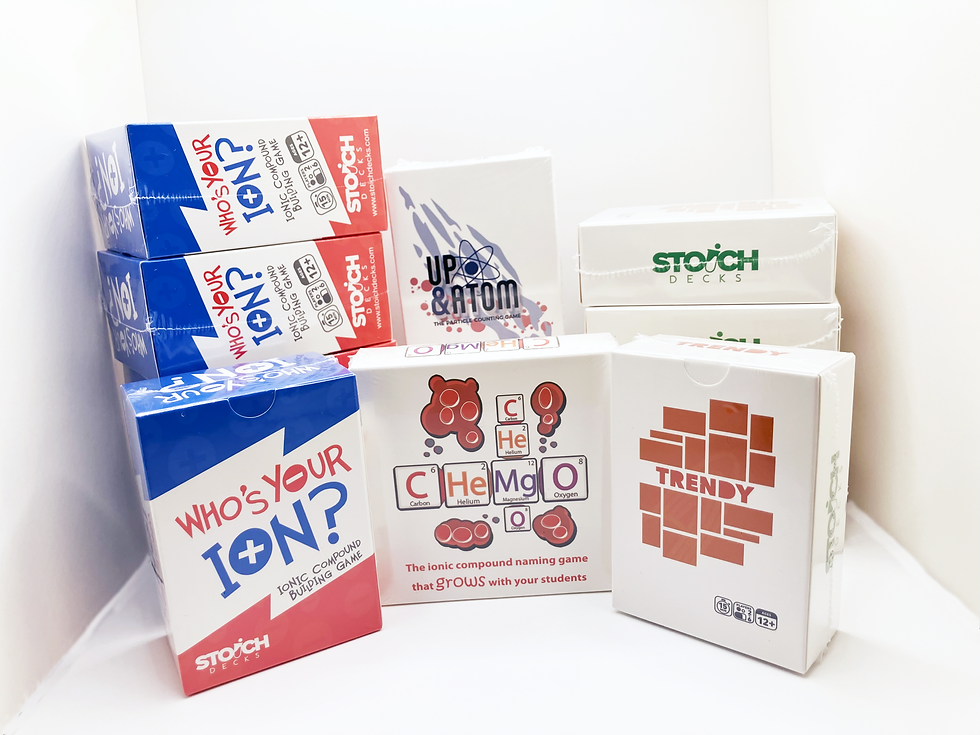
Looking for more ways to engage your students in chemistry? Check out Stoich Decks award-winning classroom games. These card games are designed to be a central tool in your lesson as you teach concepts. Up & Atom teaches the mole. CHeMgO is ionic bonding practice. Trendy demonstrates periodic trends. Who’s your ion? has students building stable ionic compounds as well as utilizing solubility. Check them out today.


Comments